Terminals & Agents
Terminals are where you and your agents get things done. Each terminal is a full interactive shell — and with coding agents running inside them, they become the primary place where work actually happens.
Creating a terminal
- Select the Terminal tool in the top toolbar.
- Click and drag on the canvas to draw the terminal at your desired size.
- A modal appears — select a coding agent from the preset list.
Note
Maestri expects your agents to be installed already. For instructions on installing Claude Code, Codex, or other supported agents, refer to their respective documentation.
You can also give each terminal a name and icon to make it easy to identify at a glance, especially when you have many on the canvas.
Roles
Roles let you define a set of instructions for a specific terminal instance. When a role is assigned, Maestri automatically injects those instructions when the agent starts — so you don't have to repeat yourself every session.
Example roles:
- Lead — Sets the agent as the coordinator that delegates to others
- Coder — Focuses the agent purely on implementation
- Reviewer — Instructs the agent to review and critique code
- Tester — Focuses the agent on writing and running tests
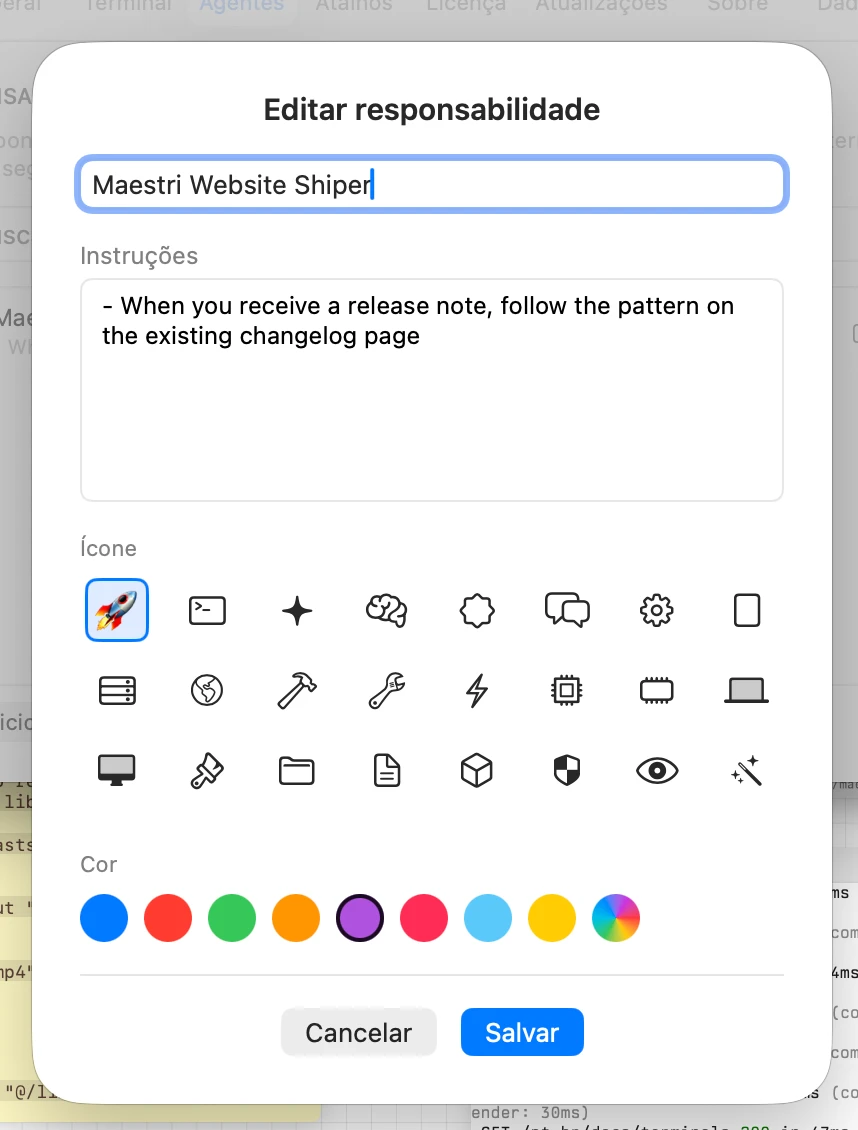
Managing roles
Go to Settings → Agents to create, edit, and organize roles. Each role has a name, a color badge, and a set of instructions. Assign a role when creating a terminal or later via right-click.
Roles work by starting the agent in a project subdirectory with its own CLAUDE.md / AGENTS.md, so each agent can have unique instructions. Alongside those, Maestri writes a portable role.json sidecar that describes the role — name, badge color, and prompt — so a role travels with the directory across workspaces and across machines.
Discovering roles in your repo
When you open the terminal Edit sheet for a local terminal, the Discover Roles button scans the working directory for role.json files and lets you import them. You see a preview of each discovered role and can multi-select which ones to add to your library — handy when checking out a teammate's branch that ships its own .maestri folder.
Right-click to delete
Role cards in the terminal Edit sheet support right-click → Delete Role with confirmation, so you can prune your library without leaving the sheet.
Tip
The maestri list command (available to connected agents) shows each agent's assigned role, so agents know who they're talking to.
Reading and editing roles from the CLI
Connected agents — and you, from any shell — can read and edit roles via the maestri CLI:
maestri role show "Name"— print a role's promptmaestri role write "Name" "new prompt"— replace the prompt entirelymaestri role edit "Name" "old text" "new text"— replace a substring inside the prompt
This is the same pattern as maestri note edit, so an agent can refine its own role between runs without leaving the terminal.
Sending raw keystrokes
Some interactive TUIs and pagers need raw control sequences that a plain maestri ask can't deliver. Use the --raw flag to send bytes straight to a connected terminal:
maestri ask "Agent" --raw "<bytes>"— sends raw keystrokes, so you can drive interactive TUIs and pagers (likeless,vim,htop, or anything that reads from a real TTY) from another agent or from the shell.
Terminal themes
Maestri ships with four theme cards in Settings → Terminal → Appearance: System, Dark, Light, and Custom.
The Custom card opens a full-window picker with 30+ built-in color schemes derived from the iTerm2 Color Schemes project — Dracula, Catppuccin, Tokyo Night, Gruvbox, Nord, One Dark, Solarized, Rosé Pine, Everforest, and more. Each scheme carries full color data including cursor-text, selection-background, and selection-foreground, and SSH terminals respect those too.
Follow system appearance
In the picker, toggle Follow system appearance and pair a light theme with a dark theme. Maestri switches between them automatically when macOS flips between light and dark mode.
Bring your own themes
Drop any Ghostty-format theme file into ~/.maestri/terminal/themes/ and it appears in the picker under From your folder, alongside the built-ins. No restart required.
When an agent needs you
When a terminal stops producing output — usually because the agent is waiting on a decision or has finished its turn — Maestri marks it with a red attention dot in the header. Use ⇧A on the canvas to jump to the next one, cycling across every floor.
For the times you're not looking at the canvas, enable Notify when an agent needs attention in Settings → Notifications. Maestri then posts a system banner whenever a terminal lights up that dot — even when Maestri is the frontmost app. Clicking the banner focuses the corresponding terminal, switching workspace and floor automatically if needed.
Jumping between terminals
When your canvas has many terminals, keyboard navigation is essential.
Hold — a number badge appears in the header of each terminal. While holding , press the number to instantly focus that terminal.
Master this shortcut and you can switch between 9 agents nearly simultaneously without touching the mouse.
Removing a terminal
To remove a terminal from the canvas, select it and press ⌘W. This closes the terminal and removes it from the canvas.