Notes
Notes look like simple sticky notes on the canvas, but under the hood they're real markdown files saved to disk. Maestri includes a fully featured markdown engine with live preview — and agents can read and write them through the Maestri CLI.
Creating a note
Select the Note tool from the top toolbar and draw a rectangle on the canvas. A new .md file is created in Maestri's storage folder and pinned to the canvas.
Raw and formatted views
Every note has two viewing modes, toggled from the contextual toolbar at the top of the note:
- Raw — A plain text editor. Write markdown directly.
- Formatted — A rendered preview. Tables, headings, code blocks, bold, italic — all rendered in real time.
Inline images
Paste images directly into a note. In formatted view they render as a visual preview; in raw view they appear as markdown syntax. Connected agents can see these images too, making it easy to share visual context with your AI assistants.
Custom note names
By default, a note's name is derived from its first line of text. To set a stable name that won't change when you edit the content, double-click the note's header or right-click → Rename.
Tip
Clear a custom name in the rename popover to go back to automatic naming based on the first line.
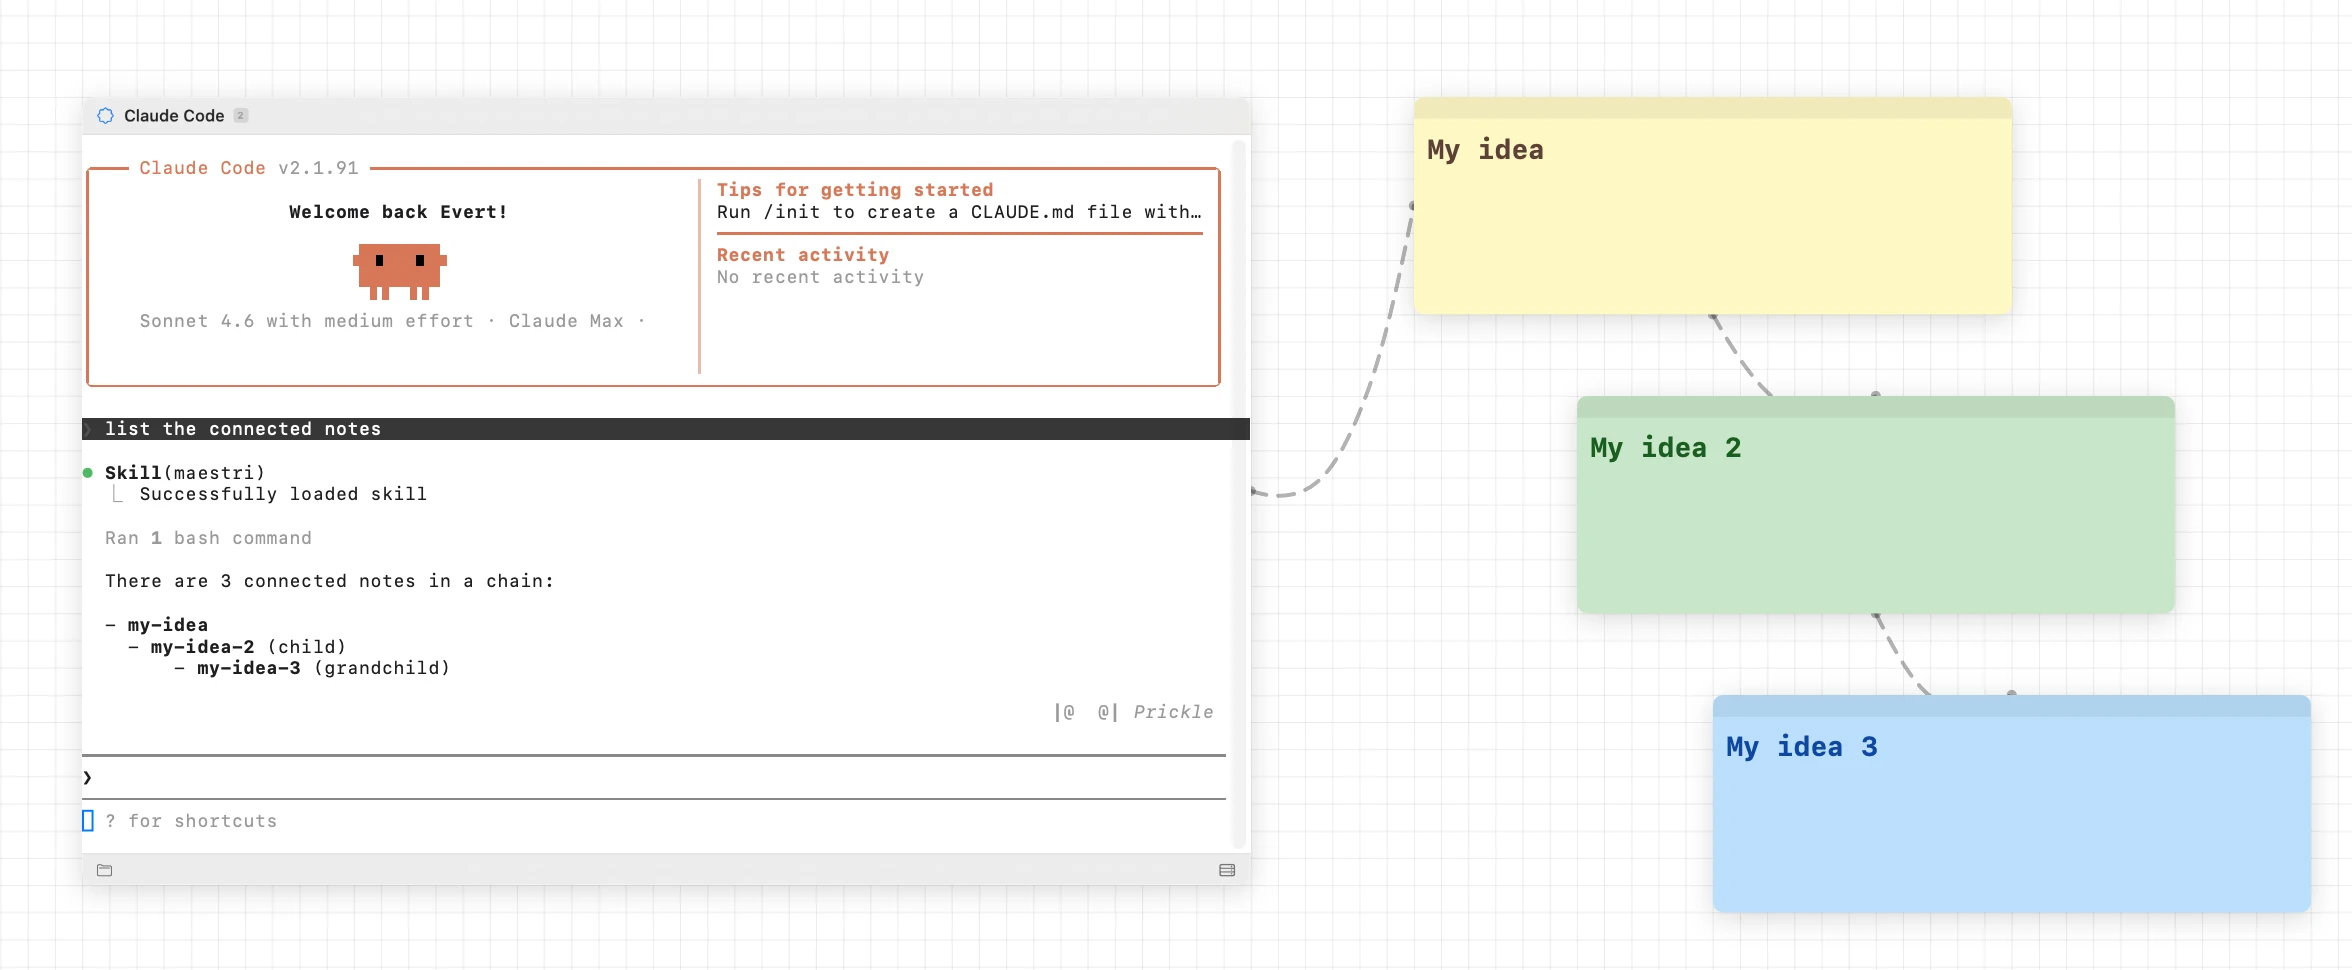
Note chaining
Notes can be connected to other notes to create a hierarchy. Connect a note to another note using the same Connection tool you'd use for terminals — a cable links them.
When an agent is connected to the entry-point note, it can access the entire chain. This is useful for organizing large amounts of context into a mind-map structure that the agent can navigate.
Custom file location
By default, notes are stored in Maestri's internal storage folder. To save a note somewhere specific in your project:
- Open the note's contextual toolbar.
- Select Move to... and choose a path.
The file lives at your chosen location from that point on. Note: if you later delete the note from the canvas, the file is not removed from your custom location.
Note
You can also drop .md, .markdown, or .txt files from Finder directly onto the canvas to work with them as notes, while keeping them at their original location.
Removing a note
To remove a note from the canvas, select it and press ⌘W. The note and its underlying file are deleted.